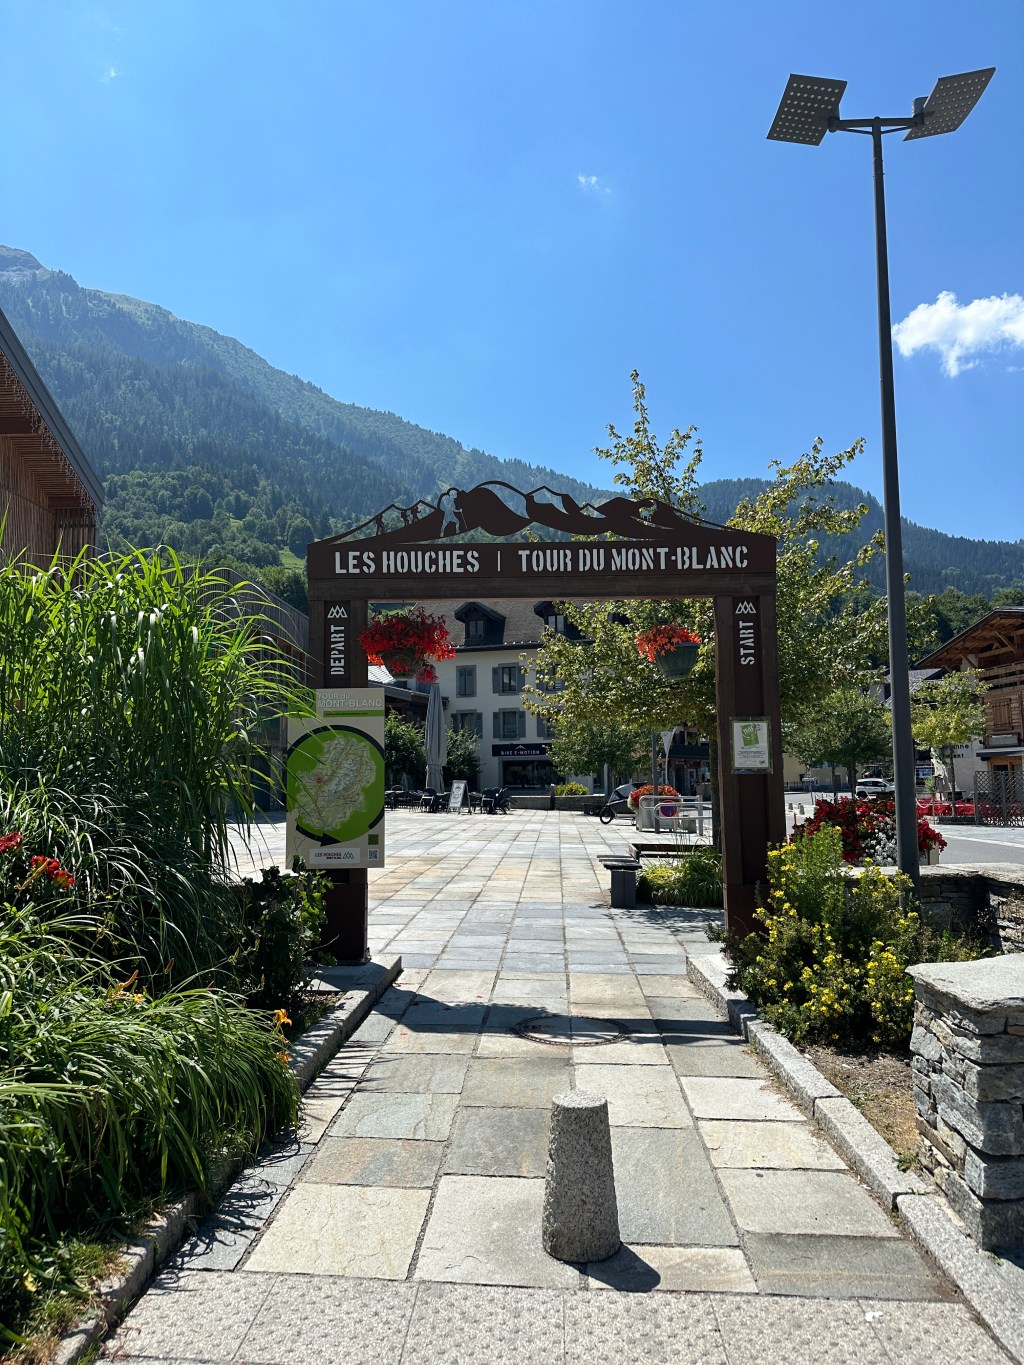
The Tour du Mont Blanc (TMB) is one of the most famous hikes in Europe. Famous for being the same route as the incredible UTMB, it is completed by many hiker lovers and trail runners. It spans a total of 170km in the alps with over 10 000m of elevation gain, making the total climb more than the height of Mount Everest. The Tour du Mont Blanc goes through three different countries: France, Italy and Switzerland. I completed the entirety of the TMB back in July 2024, and it was honestly one of the best and most physically challenging experiences that I have ever done.
There are a lot of things to consider before embarking on the Tour du Mont Blanc, such as booking your accommodations, finding the right hiking gear, planning what to pack in your hiking backpack, deciding to camp or not, deciding to use luggage transport or not, planning the steps everyday, etc. As I’ve done the Tour du Mont Blanc and did lots of research prior and also experienced the reality, I’m here to help you for your next adventure.

One of the things you might be thinking is “how do I not get lost on the trail of Tour du Mont Blanc?”
The first thing to know is that the TMB is very well marked. Very so often, you will see panels telling you the direction you should go in to follow the TMB, and even the time needed to get to the next destination, which will either be a col or a refuge.
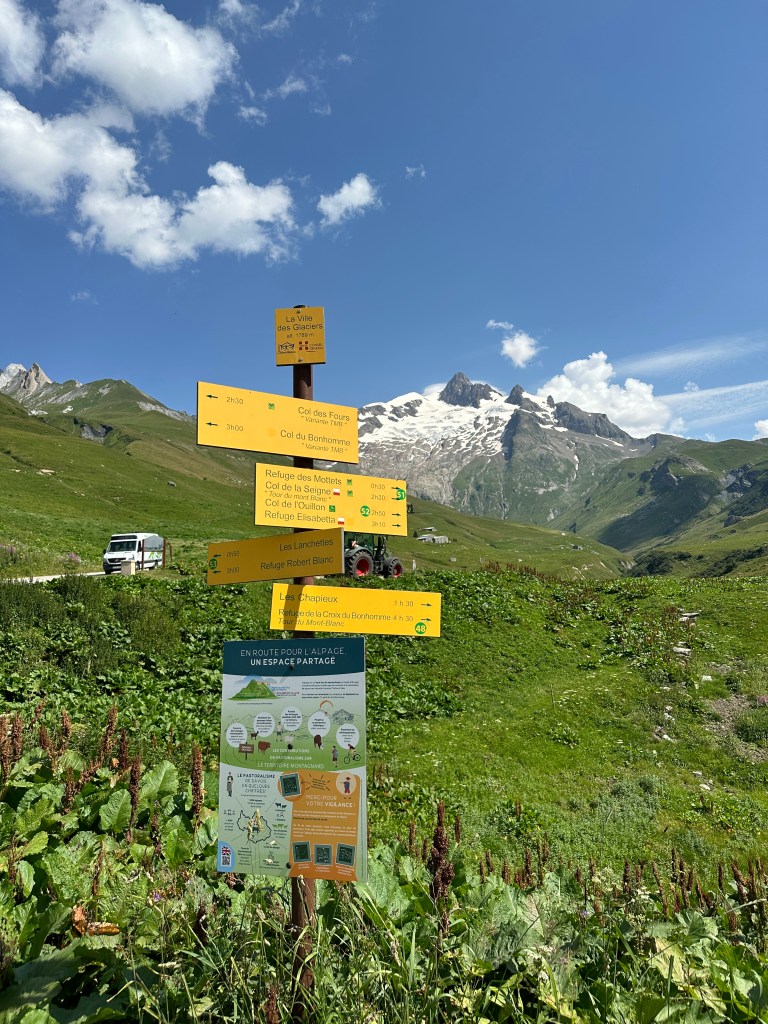
However, you should not only rely on these signs. Although they are a lot of them spread out through the trail, there were some necessary moments where there weren’t any, for example, at an intersection where it wasn’t clear whether we should turn left or go straight.
In this blog, I will be giving you the only tools you will need to navigate your way through the Tour du Mont Blanc.
Apart from hiking apps, some hikers will use paper maps. You can find many of them sold in Chamonix and in the towns around the TMB. However, the maps can take up space, and it might not be the simplest method to navigate. If you love that aspect about hiking, go for it! But if you have never used those paper maps like me, unless you want to try, you just need two apps to find your way on the trail.
There are the ONLY TWO APPS we used during our Tour du Mont Blanc and they were perfect.
- Alltrails
- Komoot
I will dive deeper into how each of them contributed to our hike.
Alltrails
We used Alltrails to make sure we made the right turns when we were at intersections without trail markers.
Pro tip: you don’t actually need to have Alltrails premium in order for the map to work. We didn’t use the premium version, and it worked perfectly for us. All you need to do before your hike is to save the trail to a new list. When it will be saved, you will be able to access the map even when you are offline. You will be able to have the trail (green line) and your current gps location (blue dot) working in real time even without internet connection or premium, which is all you will need.
Once you saved the TMB map, you will be able to refer to it throughout your hike if you ever aren’t sure the direction you should be walking. Simply pull out the app, look at where you are (blue dot) and where the trail is going (green line). You can then turn around yourself to see the direction you need to be heading, which will be the same direction as the blue arrow on your gps signal.

Komoot
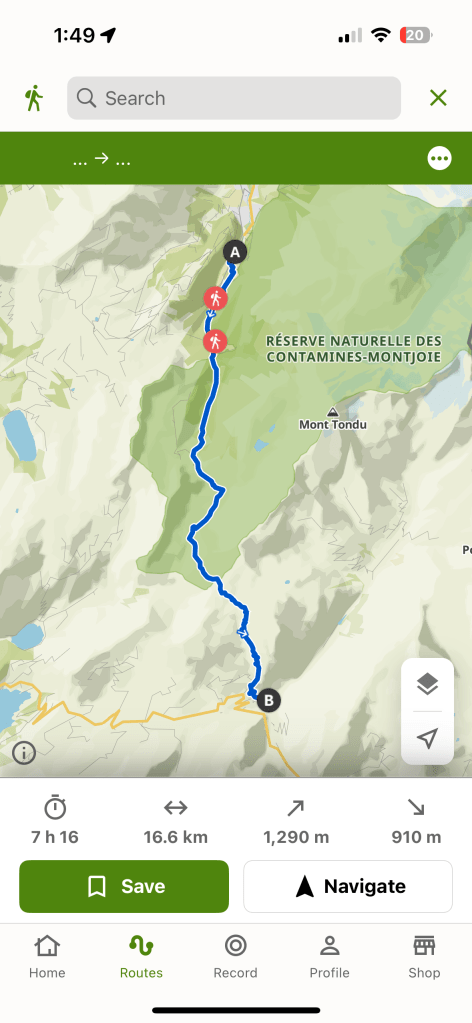
We used Komoot to plan our steps of the TMB. This gave us the opportunity to see how many km of hiking we were doing each day, the elevation gain and drop, and the total time it should take us. Since every hiker’s route everyday can be different due to the different starting points on the hike, it is difficult to find the exact pre-defined route of your day on Alltrails, which is why we used Komoot for this.
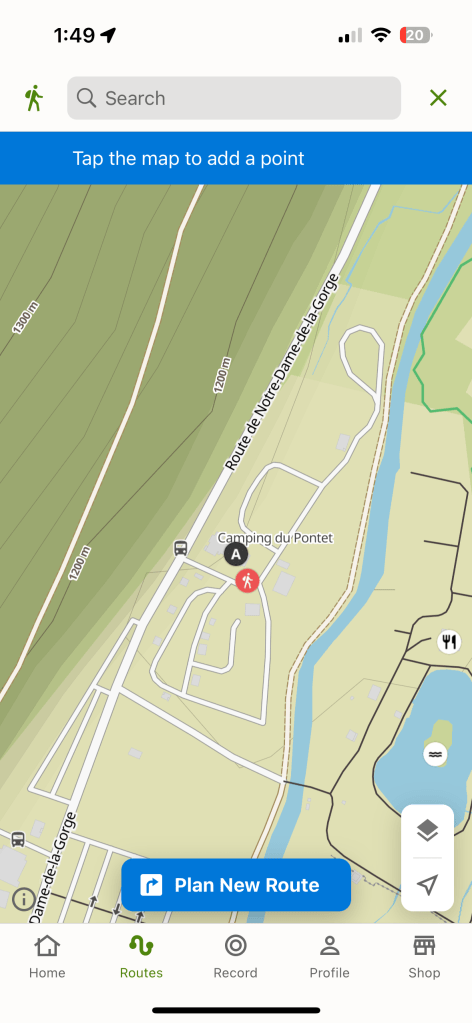
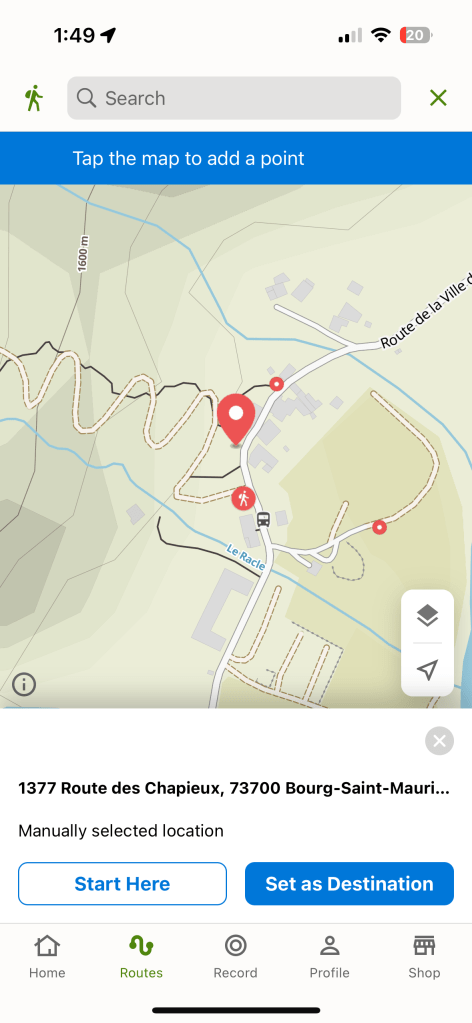
To create a step, open the app > routes > plan new (top right corner) > enter your starting point > start here > plan new route > enter your end destination of the day > set as destination.
And there you have it, your route of the day. Make sure to save it so you can go back to it later!
Here is an example on how to set up your route with Komoot: